For this project I find myself printing and painting a lot of miniatures. This is a quick run down of the steps I take when painting my models. Be aware I am not doing these to the standard I would if I were planning to use them for tabletop wargaming. For these I use four or five steps with about as many colors, as most of them I will only be using once. These are about speed over quality. With very limited time, they can look pretty good using just a few easy steps.
Step One: Prime
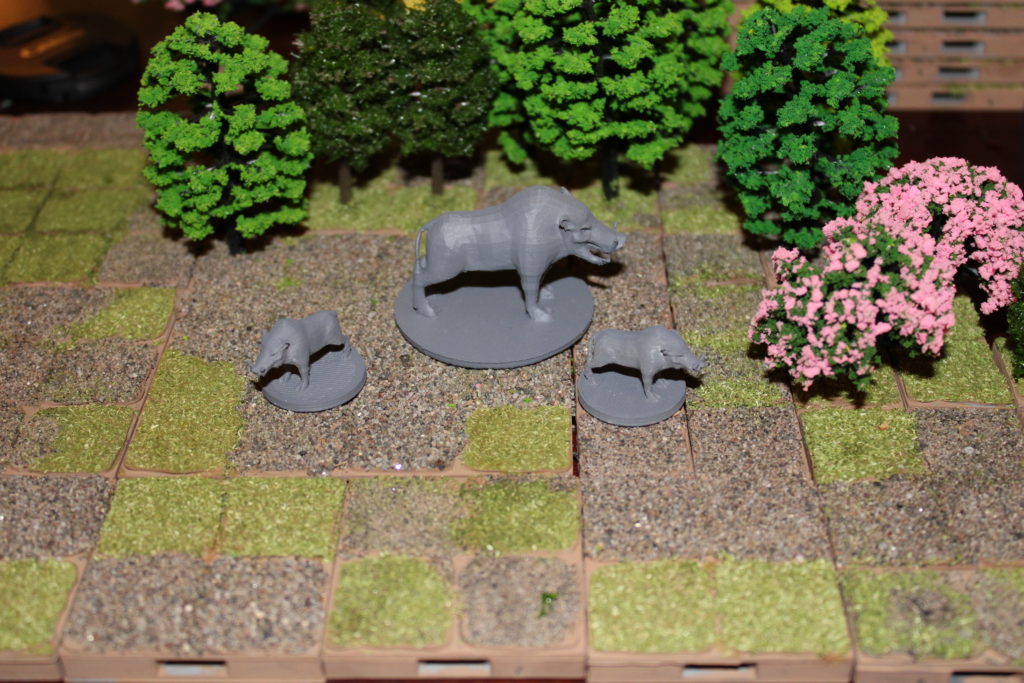
This is very Important. I always prime my minis first, which is even more important when they are 3D printed. The primer helps smooth out the rough edges of the print and fill in some of the cracks and ridges. I use grey primer normally, but you can darken or lighten the tone by using black or white primer respectively.
Step Two: Base Coat
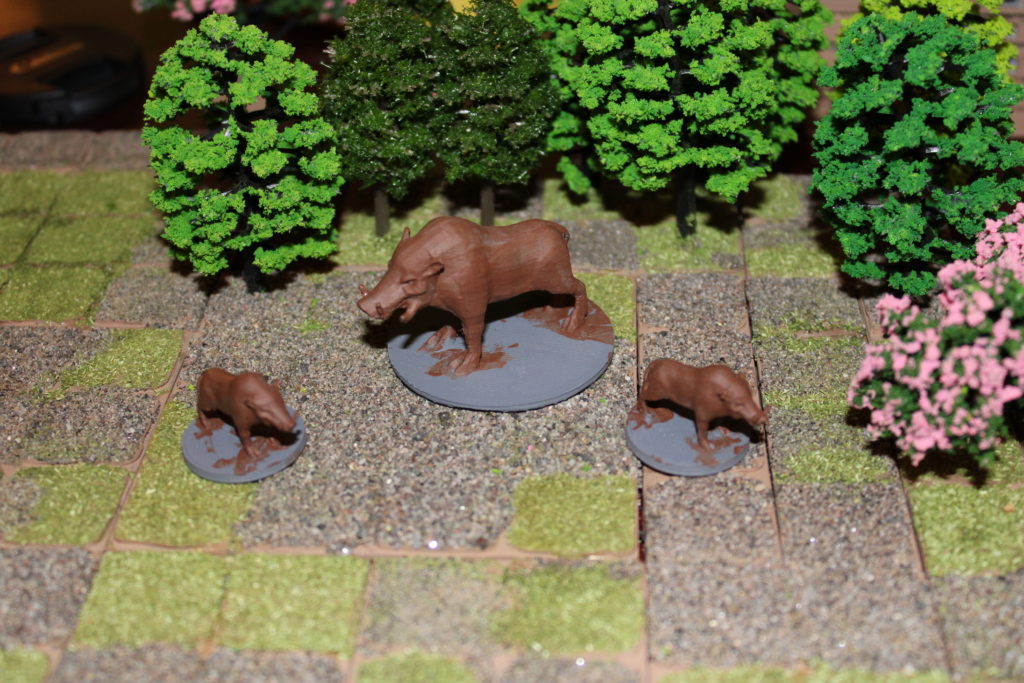
This is the base color I want on most of the model to be. You’ll want to be able to go up or down in the color range from here. If I were doing a premier model, I would pick the color in between the other colors for a transition. For example, if I have light brown and dark brown, I would find medium brown to go between. I would then base paint it with the medium brown entirely, then add the dark brown for shadows and the light brown for any highlights. You could also add white or black to get the same results, although it would be harsher contrast. Shading and highlighting can be difficult because color matching can be a bit hit or miss.
Step Three: Wash
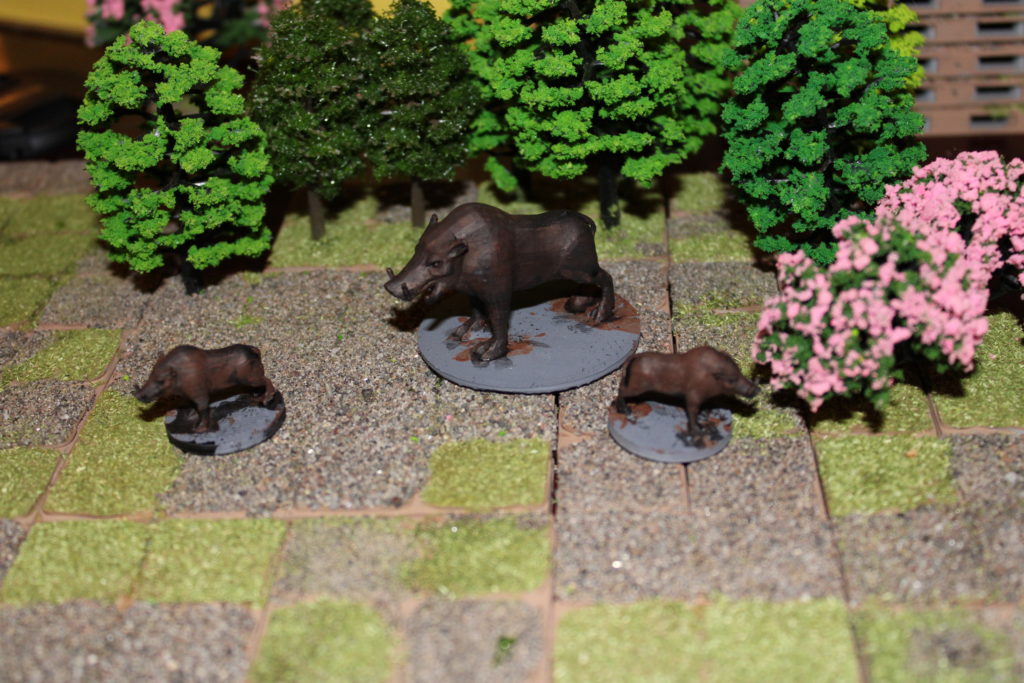
Next, I throw on a wash. Usually I’ll use black or brown but, depending on the effect you are going for, any color can work. For example, I like blue for undead creatures, green for goblinoids and aquatic creatures, as well as reds and even yellows for dragons and fire creatures.
Step Four: Dry Brush
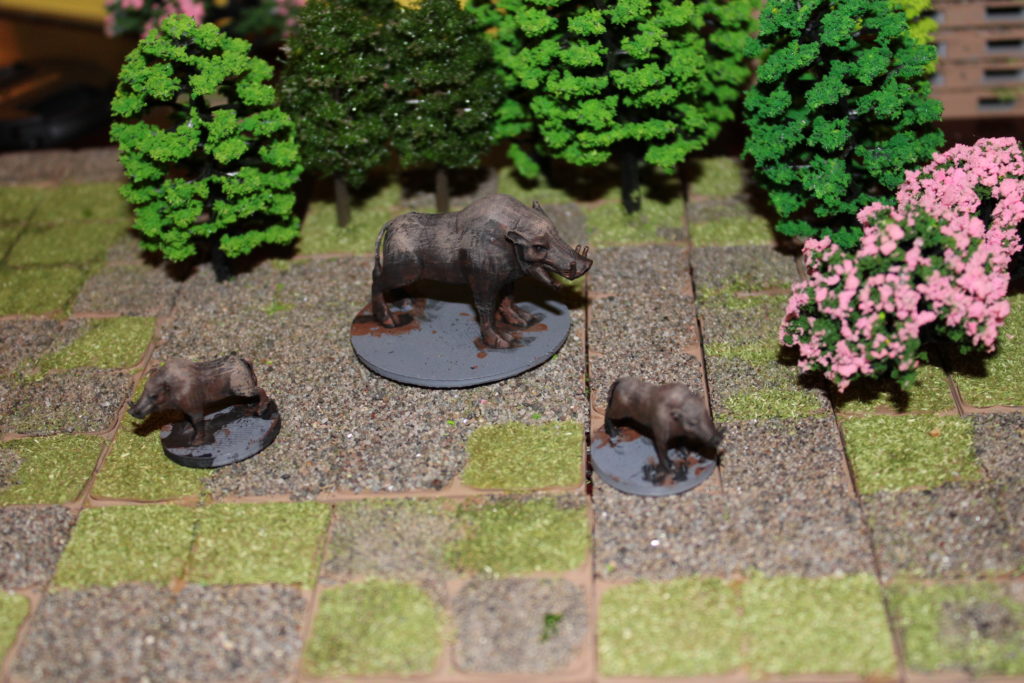
Here I apply a thin layer of a lighter color with a dry brush to the top of the model. This light layer of paint is used to highlight and provide a bit of contrast to the to top or front of the model. On a premier piece I would dry brush on several different colors. This would add yet another measure of depth.
Step Five: Highlight
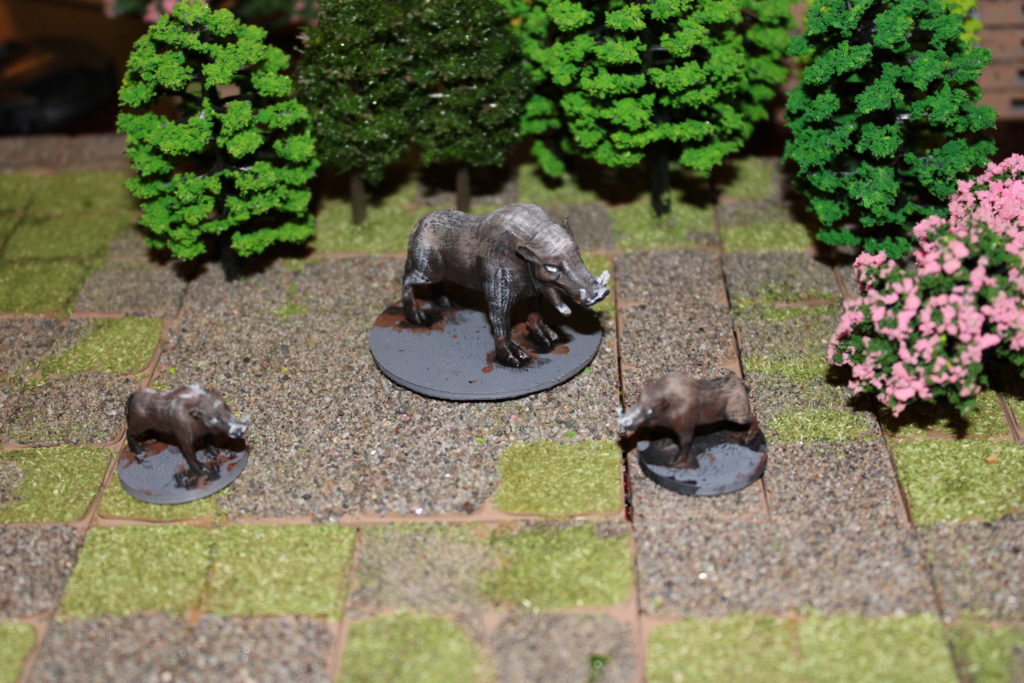
This step is where I will use an even lighter color to pick out some detail in the miniatures. I went a little overboard with the boars in the picture and had to go back and tone some of it down. Normally with highlights the goal is just hit a couple central features, usually around the face, to draw the eye to those details.
Step Six: Blending/Shading
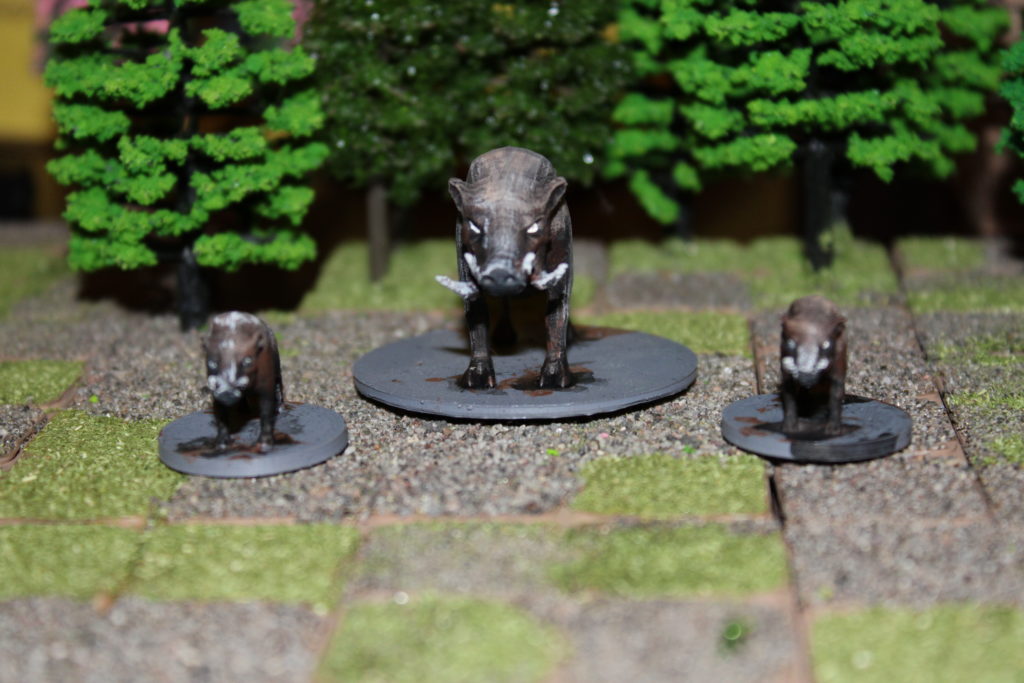
This step is simply using a bit more color to add even more shading. Adding a dark color in lower areas adds depth to shadows. It also smooths out some of the dry brushing which blends those colors together more seamlessly.
Step Seven: Base/Stand
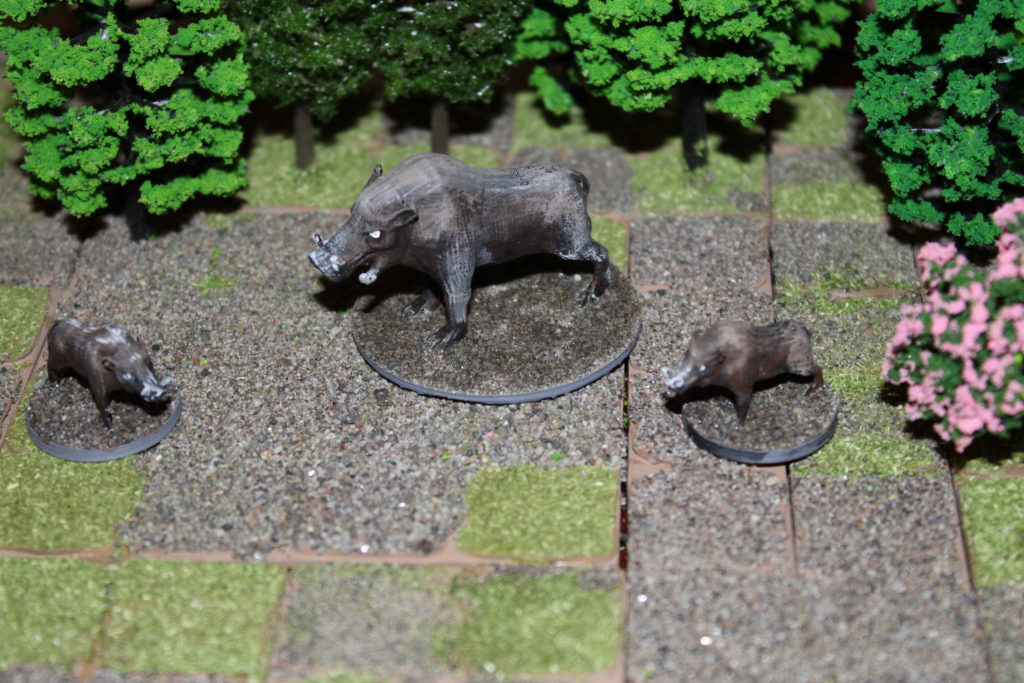
This is an oft forgotten step but is actually one of the most important things you can do with your miniatures. For this project, I am using some sand I collected from my daughter’s sandbox. I may go back and add a few rocks or moss just to add some variety. It’s more difficult to suspend reality if your mini is stuck to a slab of plastic or metal. Even just a bit of glue and sand adds a whole bunch of depth and reality to the model.
This is just a quick overview on how I put together the paint jobs on my minis. These three guys took me about an hour to paint, start to finish. In the past I have spent days on painting projects and they can turn out really very nice. I will be using one of these small guys later in my story. But as I may never use them anywhere else, they are rather simple as paint jobs go.
This site is great! So many great tips! The adventure begins!